It took a while to find a date that suited both our schedules but, thanks to my understanding new boss who granted a day off between the weekend and Australia Day, we finally agreed that Lorraine would come to visit yesterday morning and head home this evening.
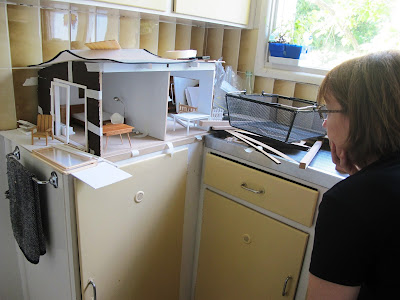
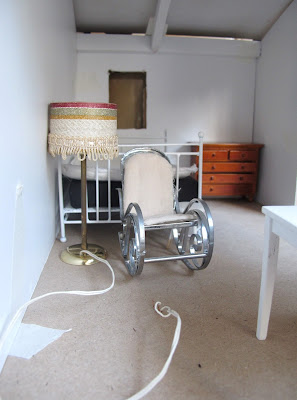
The first point of business (after making a cup of tea) was doing a dry fit so she could get a feel for where I was up to and what I was trying to do.
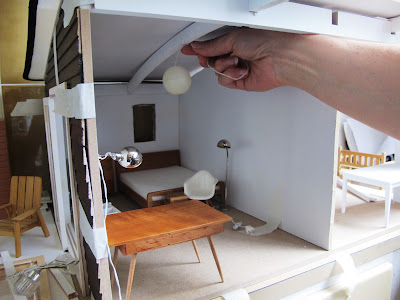
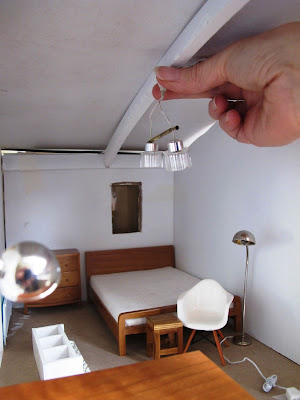
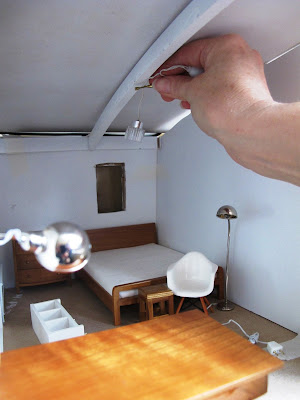
Then I learnt my first of many things from Lorraine: that I needed to choose my lights before I started anything else to do with wiring. Silly me had just assumed that you worked out where they were going, then attached whatever you ended up deciding on to the wiring right at the end...
So I had to head upstairs, collect the options I had in stash and we made some quick decisions on what might work where.
Because some of the options were wired for 4.5 volt systems, and we were planning to run on the standard 12-volt system, there was some speedy rewiring, using some lovely pea bulbs from the package Elvira sent me 18 months ago (that's definitely a gift that keeps on giving!)
By the time we'd done that, and some spray painting of pieces it was time for dinner and chatting and then, finally, bed.
This morning we were both up bright and early and while I made us tea, Lorraine set the breakfast table:
My soldering and lighting lesson started at 7.30 am (with us both still in our PJs!)
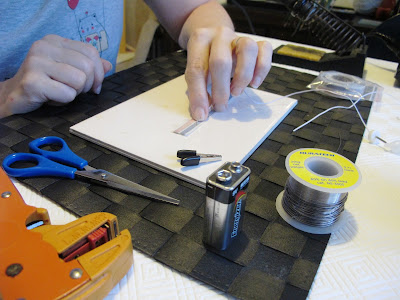
First up, a demonstration of when polarity matters and how to check that you have it right (first takeaway for the day: using a 9-volt battery is an easy way to run tests on 12-volt systems).
Then I was formerly introduced to copper tape and its properties,
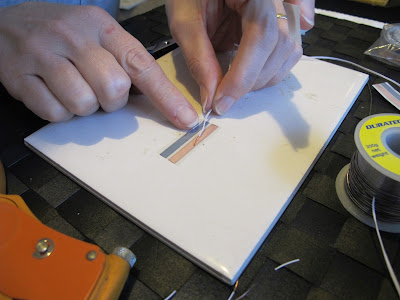
reminded of how to split and strip wires and how having the ends at different lengths helps ensure they don't accidentally touch and short out,
and shown why sticking the wire down with tape before you start soldering is a good idea.
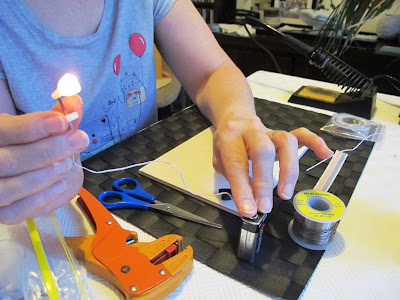
Touch the wire with the tip of the soldering iron,
introduce some solder wire stuff (that's a technical term, I'm sure),
tap off once it starts to melt (if there's no melting happening, turn your soldering iron tip around a little, as one side's hotter than the other) and remove the iron once the solder 'flows'.
Voila! One neat and tidy join.
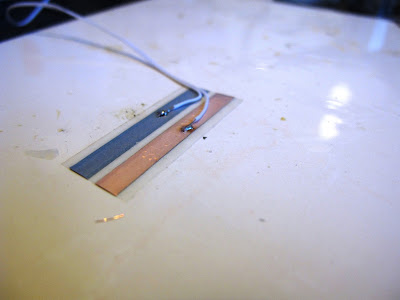
Then it was time for me to have my first go (top)
and second, much neater version (bottom).At which stage Lorraine handed me the wires attached to one end of a 12-volt transformer she happened to have in her work box and showed me how to solder it on the other end of the copper tape and suddenly there was light!
(I felt ever so chuffed...)
We celebrated by showering and dressing before running a couple of errands, including buying more mat board (I'd used my supply up building the scenes for the GRAG exhibition).
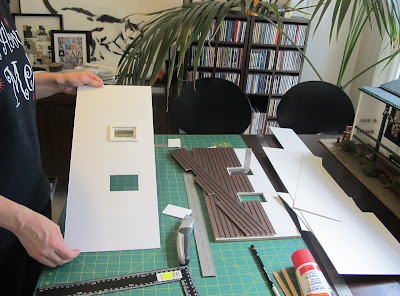
Because, it would seem, I hadn't needed to spend days on end undercoating my pieces and waiting for them to dry before spraying the next coat on, as Lorraine told me that the neatest way to run wires is behind false walls made of mat board.
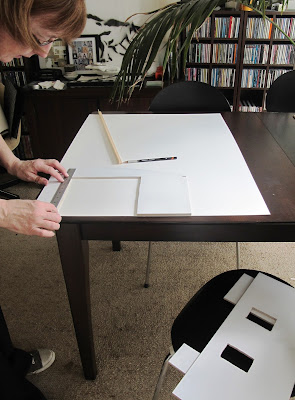
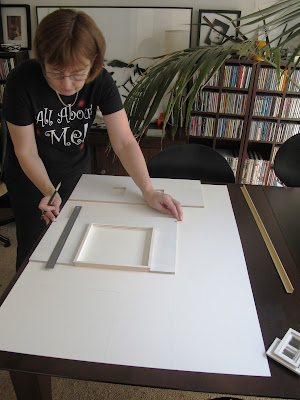
Having seen my appalling cutting skills, Lorraine decided that the only safe thing to do was measure and cut the board for me, fixing the worst of my mistakes along the way (bless her!).
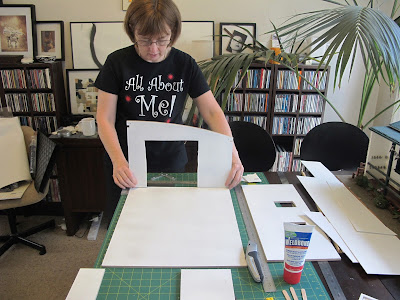
Finally, about mid-afternoon, she declared it was time to start gluing the floor and walls together
(and visit James at Victorian Dollhouses while we waited for it to dry...)
We're not finished yet, but Lorraine has already said she wants to come back and play again soon, and that she's sure I'll be fine carrying on the build by myself...*gulp*
#HBSCreatinContest2015






5 comments :
Anna-Maria, reading your blog was lovely and may I say I'm not sure now who had the most fun, you or me! You are certainly a superb host and an excellent student.
I can't wait to come back and I can only hope that you don't do too much without me, I'm not sure I can cope with you having all the fun...lol
Anyway I know you will do an excellent job now you're back on track and it wouldn't surprise me if it was finished by next week!
I do hope to surprise you one day with me doing a modern scene, you've certainly opened my eyes to its allure.
Talk soon my friend,
Regards Lorraine
after reading all that, the phrase "my understanding new boss" stood out as the best bit. long may it continue.
Some great lessons! I have yet to use the tape. I usually use the white wire and batteries. Tell Lorraine I like her shirt!
Oh you lucky girl! What an awesome way to spend a long - ish - weekend. Project looks really good.
Lucky girl to have your own Miniature consultant to help you along.
I met Lorraine in Brisbane last year - her enthusiasm for minis is contagious. I can imagine what fun you must have had together. You certainly made a lot of progress.
All the best Janine
Post a Comment